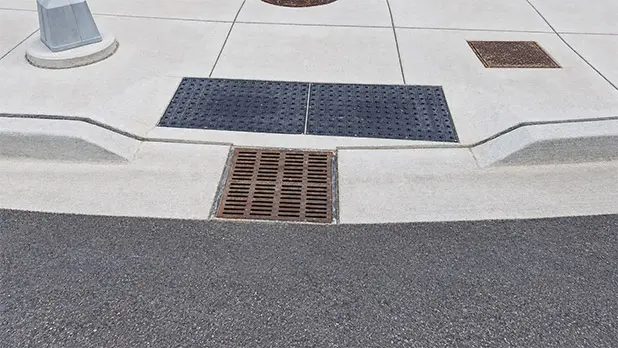
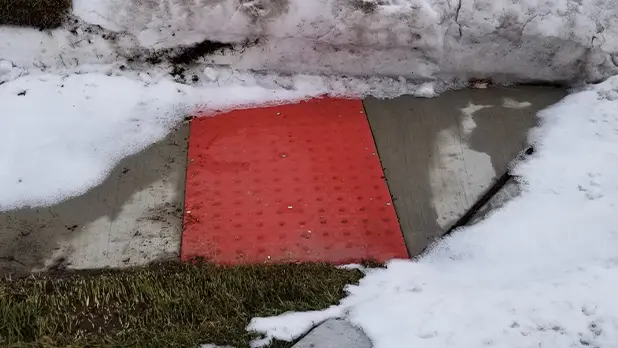
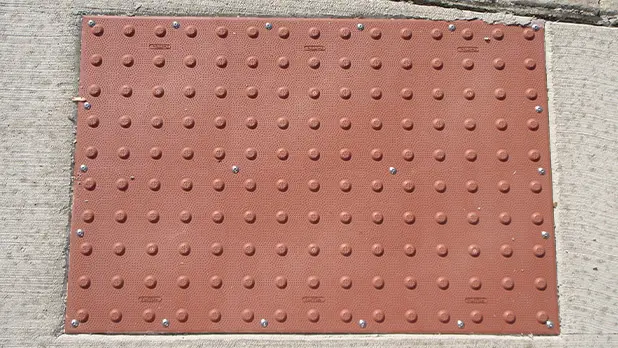
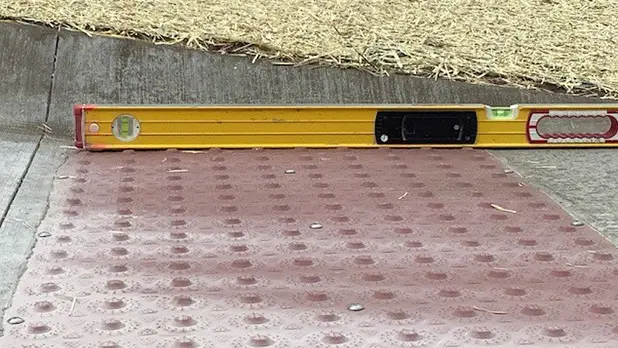
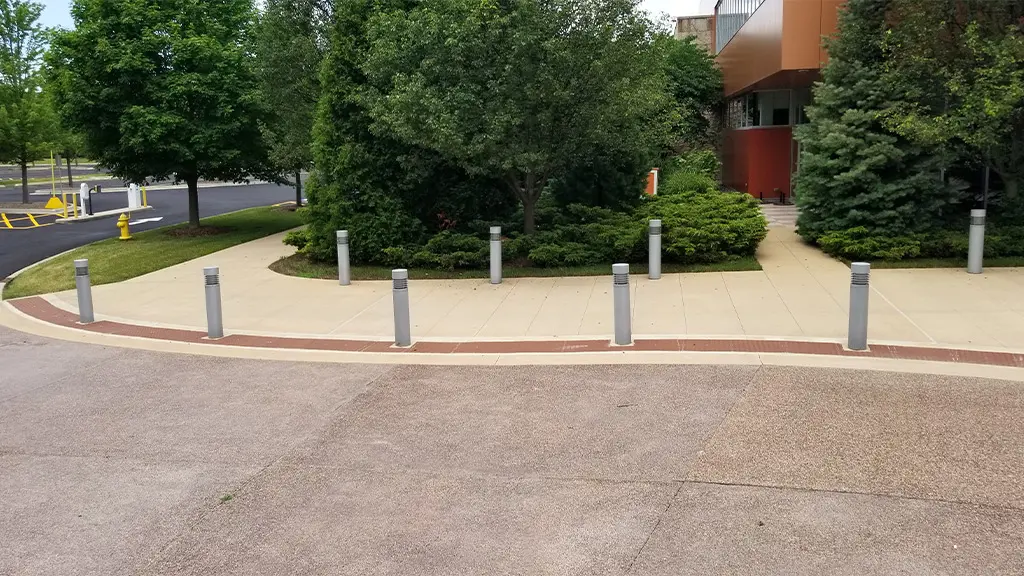
A straight detectable warning field is relatively straightforward to lay out. A curved curb ramp is different. The curbline changes direction continuously, rectangular tile modules may not align cleanly, and poorly planned field cuts can disrupt the truncated-dome pattern.
That makes radius curb ramp detectable warnings a layout problem that should be solved during design and preconstruction—not improvised after concrete placement begins.
Why Curved Curb Ramps Need Special Planning
Accessibility requirements do not disappear because the curb is curved.
The warning field still needs to satisfy the applicable requirements for location, dimensions, truncated-dome geometry, spacing, and visual contrast. The challenge is fitting those requirements to the radius in an orderly, buildable way.
A layout that looks acceptable on a generalized plan detail may behave differently when applied to the actual curb geometry.
Confirm the Required Warning Area First
Before selecting radius components, determine exactly where the detectable warning surface needs to begin and end.
PROWAG contains provisions governing detectable-warning size and placement at curb ramps and blended transitions. The correct position depends on the ramp configuration and its relationship to the curb and grade break.
State or local agencies may also publish standard details that affect the layout.
The radius system should be selected after those limits are understood.
Why a Radial Dome Grid Can Help
PROWAG recognizes both square and radial arrangements of truncated domes.
A radial grid allows the rows of domes to fan around a curve while maintaining an orderly tactile field. This can create a cleaner relationship to the curb than cutting straight-grid tiles into a series of irregular shapes.
The radial arrangement still needs to maintain the applicable dome dimensions and spacing. Curving the warning field does not change the standardized tactile message.
Verify the Actual Geometry
Curb radii shown on drawings and finished field conditions do not always align perfectly.
Before ordering or installing a radius system, verify:
- Curb radius
- Ramp width
- Limits of the warning field
- Grade breaks
- Joint locations
- Adjacent pavement conditions
- Drainage
- Actual available installation area
Even relatively small differences can affect tile and wedge quantities or the way adjoining components meet.
Using TufTile EasyArc
TufTile’s EasyArc Radius Calculator is designed to help project teams translate radius geometry into a defined detectable-warning layout.
TufTile states that its tiles and wedges can be arranged in more than 20 radius configurations ranging from 9R to 70R. The calculator identifies the radius closest to the project condition and generates a site-specific illustration and bill of materials.
A planning tool does not replace project review, but it can reduce guesswork in selecting components and quantities.
Coordinate Concrete and Tile Installation
For wet-set radius systems, concrete and tile installation need to follow the same layout.
Confirm the curb geometry before the work becomes difficult to adjust. Establish reference points for the warning field, coordinate joints, and make sure tile placement does not interfere with drainage or surrounding concrete finishing.
Radius installations contain more component relationships than a straight rectangular field, so consistent placement matters.
Avoid Over-Cutting Standard Tiles
Cutting may be necessary in some conditions, but excessive field modification can leave partial domes, irregular edges, or a visually disorganized warning field.
Purpose-built radius components allow the curve to be addressed systematically rather than assembled from improvised pieces.
Where cutting is required, the resulting dome geometry and edge condition should still satisfy the applicable project requirements.
Treat the Radius Detail as a Designed Assembly
A successful radius detectable warning combines several decisions: accessibility placement, dome geometry, curb radius, component sizing, concrete construction, drainage, and visual contrast.
Those decisions should be coordinated before installation.
When the radius is treated as a complete assembly rather than a field-cut version of a straight warning surface, the finished installation can follow the curb cleanly while preserving the recognizable truncated-dome pattern.