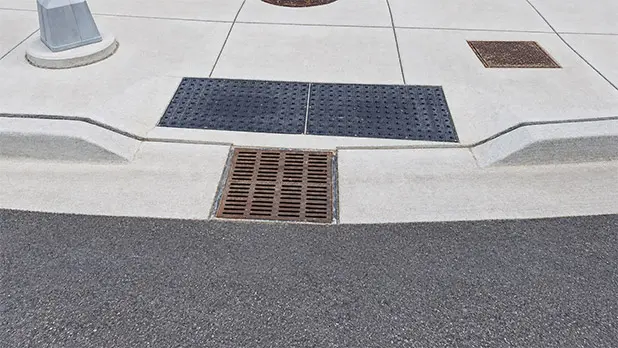
On a plan, a detectable warning tile can look like one of the simplest elements of a curb ramp: a rectangle placed at the required location.
Then the concrete layout gets added.
There may be an expansion joint where the tile was supposed to go. A curved curb may require a different tile layout than expected. The slope may direct water toward an edge. On an existing ramp, cracks or previous repairs may complicate the installation even further.
None of these conditions necessarily creates a problem on its own. The problems tend to appear when the detectable warning surface, concrete joints, and drainage are designed separately and expected to work themselves out in the field.
Lay Out the Tile and Concrete at the Same Time
Once the required warning area has been established, overlay the rest of the curb-ramp detail: tile dimensions, curb geometry, concrete joints, slope changes, and drainage.
Then look closely at where those elements meet.
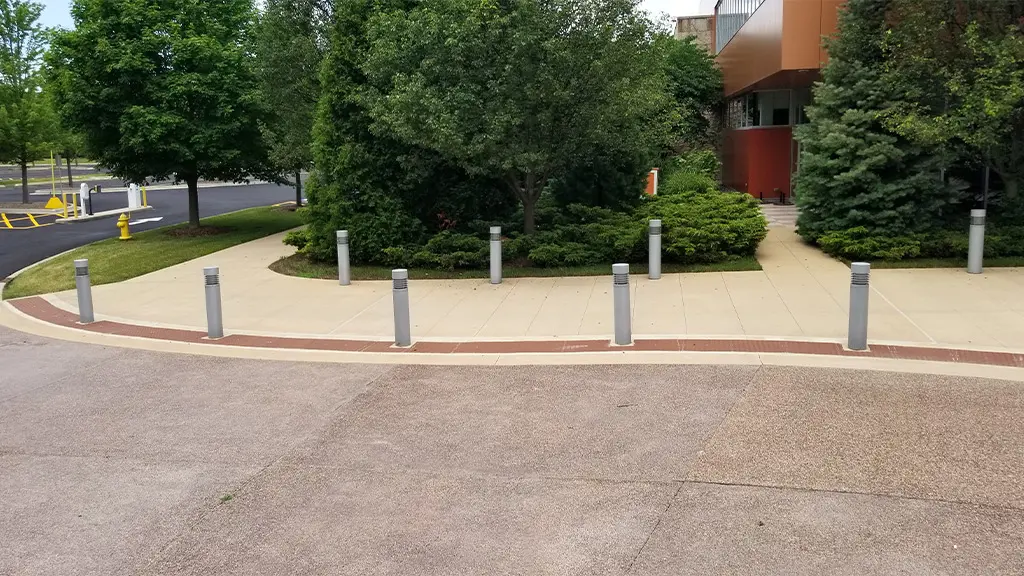
Does a joint run through a tile? Does the proposed tile layout leave a narrow strip of concrete at one edge? Does the curb geometry require cuts or a different arrangement of tiles? On a radius curb ramp, does the warning surface follow the intended curb line?
Resolving these questions during design gives the installer a clear layout to follow and reduces the likelihood of improvised cuts or joint locations during construction.
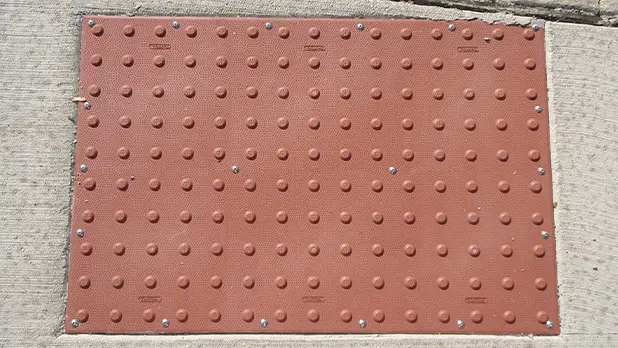
TufTile offers multiple tile sizes and configurations, including products intended for radius applications, so the selected product layout should be coordinated with the actual geometry rather than treated as a generic rectangular detail.
Don’t Ignore Expansion Joints
Expansion joints deserve particular attention because the joint and truncated dome tile layout may need to occupy the same area.
The Access Board’s Public Right-of-Way Accessibility Guidelines (PROWAG) address gaps in a detectable warning surface that occur over an expansion joint. Where that provision applies, dome-spacing requirements do not apply at the gap when the warning surface is aligned with both edges of the joint.
The important planning point is simpler: show the relationship intentionally.
If an expansion joint will create a gap between sections of detectable warning surface, identify it in the project details rather than leaving the installer to determine how the two systems should meet.
As always, confirm the accessibility criteria adopted for the project and follow the installation instructions for the exact product being used.
Follow the Water, Too
Drainage can be easy to overlook when the focus is on tile placement, but water doesn’t care where the detectable warning detail ends.
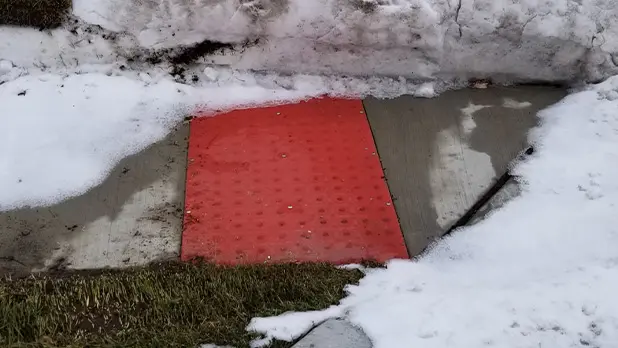
Review how water moves across the ramp and around the tile. A poorly coordinated edge, low spot, or surrounding pavement condition can create a place for water to collect. Ponding can make the walking surface more difficult to use and may create additional maintenance concerns in climates where water freezes.
On new construction, coordinate the tile with the planned slopes and drainage before concrete placement.
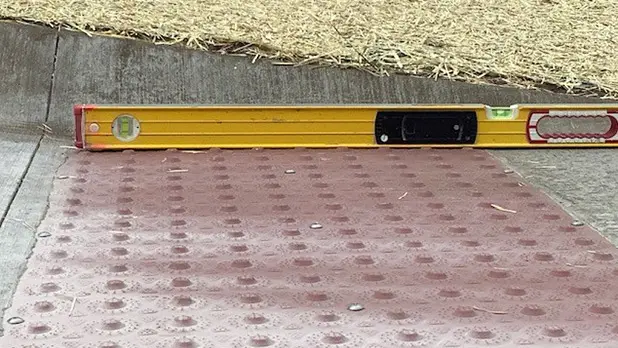
On an existing ramp, field conditions become even more important. Look for standing water, cracking, flaking, uneven pavement, previous repairs, and low areas around the proposed installation. If the existing concrete isn’t sound, that condition may need to be corrected before a surface-applied warning tile is installed.
Make the Drawing Match the Field
A detail can be technically complete and still fail if it doesn’t reflect what is actually on site.
Before materials are ordered, compare the planned layout with field conditions. This is particularly important for retrofit work, where existing joint locations, slopes, or repairs may differ from older drawings.
The concrete contractor and tile installer should be working from the same information. Tile orientation, edges, joint locations, drainage, and installation method are much easier to adjust before installation than after concrete has been placed or holes have been drilled.
A little coordination at the drawing stage can prevent a surprisingly large number of field questions later.
The detectable warning tile, concrete, joints, and drainage aren’t separate details once they’re built. Planning them together is the best way to make sure they work together.