A tactile directional indicator should solve a wayfinding problem, not simply add another strip of texture to a path. That principle becomes especially important on shared-use facilities, where pedestrian routes may intersect or run beside bicycle movement and where painted markings alone may not provide useful information to pedestrians with vision disabilities.
Planning tactile directional indicators for shared-use paths starts by identifying where non-visual guidance is missing and determining exactly what information the TDI needs to communicate.
Begin With the Movement Problem
Look first at the existing environment.
Walls, curbs, railings, landscaping edges, and clearly detectable surface boundaries can already provide useful guidance. A TDI is most valuable where those natural cues disappear, become confusing, or do not lead a pedestrian toward an important crossing or destination.
This keeps the tactile system focused rather than creating a continuous directional path simply because one can be installed.
Map Origins, Destinations, and Decision Points
Trace the pedestrian journey through the site. Identify the following characteristics:
- Entrances and exits
- Transit stops
- Street and bicycle crossings
- Path intersections
- Amenities
- Changes in path organization
- Locations where detectable edges begin or end
- Points where pedestrians need to choose a direction
This mapping helps establish where a TDI should begin, end, turn, or transition to another tactile cue.
Continuous vs. Discontinuous Guidance
Some open environments may justify continuous tactile connections among several important destinations.
Other locations can use a discontinuous system in which localized TDIs supplement reliable walls, curbs, landscaping edges, or other detectable features.
On many shared-use paths, localized guidance may communicate the needed information without adding an unnecessary continuous tactile route.
Keep Warning and Guidance Functions Separate
Directional bars should not replace a required truncated-dome warning.
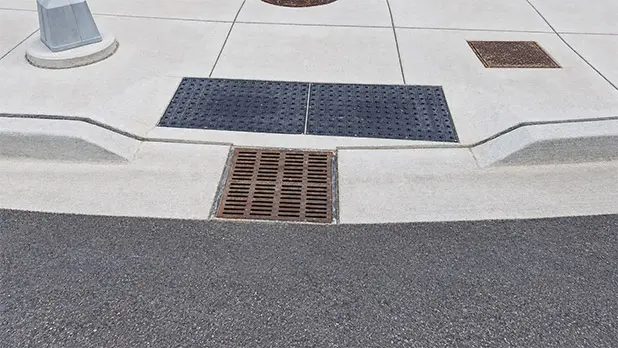
If the TDI leads toward a street or bicycle crossing where a DWS is used, the transition should be clear: the directional bars provide guidance to the crossing; the truncated domes communicate the hazard warning.
Where a same-grade bicycle zone runs beside the pedestrian path and crossing is not intended, a TWD may provide a different boundary message.
DWSs, TDIs, and TWDs can work together, but each needs a clearly defined function.
Coordinate Pedestrian and Bicycle Zones
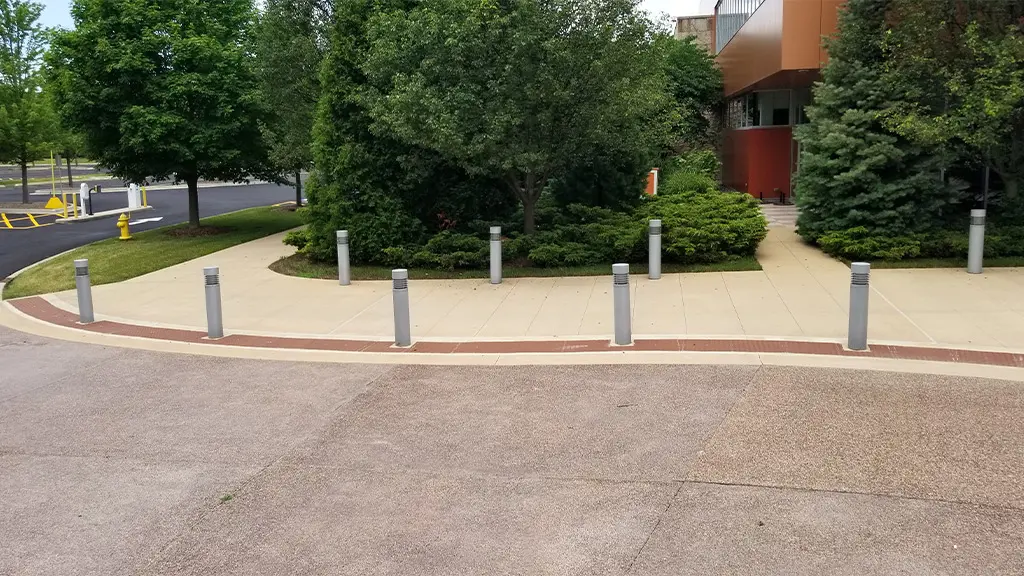
Shared-use path geometry should drive the tactile layout.
Consider path width, lane markings, bicycle speeds, passing behavior, crossings, intersections, and the way pedestrians and cyclists merge or separate.
TufTile positions its directional guidance indicators for shared-use bicycle and pedestrian environments, but the specific arrangement still needs to respond to the project’s movement patterns and accessibility strategy.
Choose the Installation Method
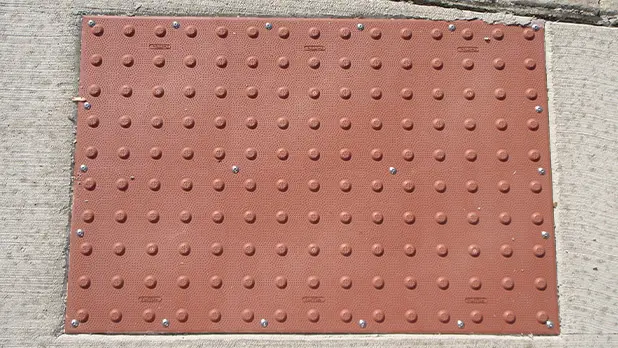
TufTile’s G90 galvanized-steel TDI is available in wet-set and surface-applied configurations.
New construction may allow TDIs to be incorporated while concrete is placed. Existing paths may be candidates for surface-applied installation where the substrate is suitable.
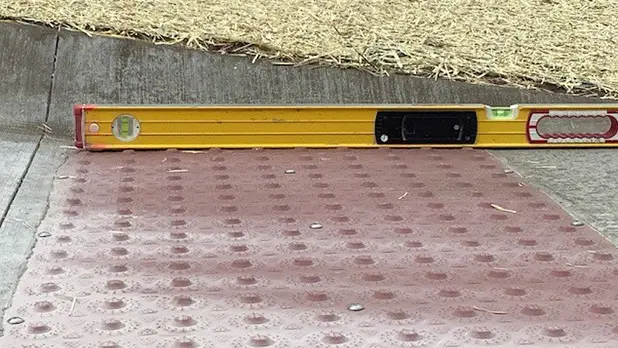
The installation method should be established early because it affects phasing, surface preparation, hardware, and construction details.
Plan Turns and Choice Points
Directional bars need to remain understandable when the route changes direction.
Research-based guidance favors relatively simple path geometry and identifies 45- and 90-degree bends as better-supported turn configurations. Unexpected curves, irregular angles, and abrupt discontinuities can make a route harder to interpret.
At intersections of three or more TDI segments, research supports a blank choice point rather than introducing truncated domes as a turn indicator.
TufTile’s multi-bar system provides flexibility for field configuration, but modifications should preserve the planned directional logic.
Coordinate Contrast and Adjacent Paving
Tactile guidance also exists within a visual environment.
Pavement colors, markings, lighting, and adjacent finishes can reinforce or compete with the TDI route. A shared-use path containing too many unrelated textures and colors may become visually harder to interpret rather than easier.
Any detectable warning surfaces used at crossings should also satisfy their own applicable visual-contrast criteria.
Review the Route in the Field
Plans cannot capture every operational detail of a shared-use path.
Before final installation, review actual geometry, drainage, joints, obstacles, crossings, grades, and decision points. For larger or unfamiliar tactile systems, orientation and mobility specialists can provide valuable input into whether the proposed route is findable and understandable from a nonvisual travel perspective.
After installation, review continuity and transitions rather than checking individual components in isolation.
A successful TDI route should make sense as a journey—not simply as a collection of correctly installed raised bars.